
Welcome to the Taylor meat thermometer guide! This tool ensures accurate cooking temperatures, helping you achieve perfectly cooked dishes every time. Learn how to use, maintain, and customize your thermometer for optimal results.
Why Use a Meat Thermometer?
A meat thermometer is an essential tool for ensuring perfectly cooked dishes. It provides accurate temperature readings, eliminating guesswork and preventing undercooked or overcooked meat. Using a meat thermometer ensures food safety by reaching safe internal temperatures, reducing the risk of foodborne illnesses. It also enhances flavor and texture, as precise cooking prevents meat from becoming dry or tough. Additionally, a meat thermometer saves time by avoiding constant checking and helps achieve consistent results. The Taylor meat thermometer, with its preset settings and durable design, is a reliable choice for home cooks and professionals alike, offering ease of use and precision for various meats and cooking methods.
Overview of Taylor Meat Thermometer Features
The Taylor meat thermometer offers a range of features designed for precision and convenience. It includes a digital display for clear temperature readings and preset settings for various meats like poultry, beef, pork, and fish. The thermometer also has a timer function, allowing you to monitor cooking time accurately. A durable stainless steel probe ensures long-lasting performance and accurate measurements. Additional features include a compact design, easy-to-use interface, and battery operation for portability. The unit is placed outside the oven, with a probe that can be inserted into the meat, avoiding direct oven heat. These features make the Taylor thermometer a versatile and reliable tool for achieving perfectly cooked meals every time.
Basic Operating Instructions
Place the digital unit outside the oven, insert the probe into the thickest part of the meat, avoiding bone or fat, and ensure the cord isn’t crimped.
Placing the Thermometer Unit Outside the Oven
Always position the digital thermometer unit outside the oven to avoid damage. Ensure the probe cord is not crimped by the oven door. This ensures accurate readings and prevents damage. Place the unit on a stable surface near the oven for easy monitoring. Keep it away from direct heat sources to maintain functionality. Proper placement ensures your thermometer works effectively and lasts longer, helping you achieve perfectly cooked meals every time. Follow these steps for safe and efficient use of your Taylor meat thermometer.

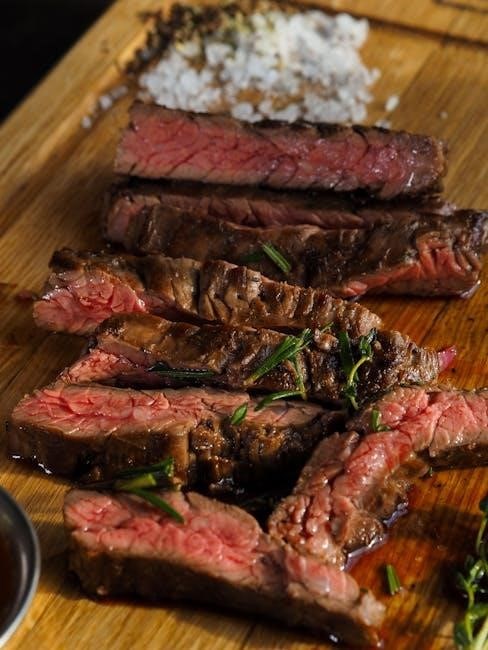
Inserting the Probe into Meat
Insert the stainless steel probe into the thickest part of the meat, avoiding contact with bone, fat, or gristle, as these areas can provide inaccurate readings. Ensure the probe is fully inserted but not touching any hard surfaces. For even cooking, place the probe in the center of the meat. Handle the probe carefully to avoid bending or damaging it. Once inserted, the thermometer will begin providing accurate temperature readings, helping you achieve your desired level of doneness. Proper probe placement is essential for reliable results and ensures your meat is cooked safely and to perfection every time.

Preset Temperature Settings
Preset temperature settings for poultry, beef, pork, and fish ensure accurate cooking. Use these settings to achieve optimal doneness. Custom settings are available if needed.
Recommended Cooking Temperatures for Different Meats
For safe and flavorful cooking, use these recommended temperatures: poultry (165°F), beef (135°F for rare to 160°F for medium), pork (145°F), and fish (145°F). These guidelines ensure food safety and optimal texture. The Taylor thermometer includes preset settings for these meats, simplifying the cooking process. Always insert the probe into the thickest part of the meat, avoiding bone or fat for accurate readings. Proper temperature control prevents overcooking and ensures a juicy, perfectly cooked result. Refer to the cooking table in the manual for detailed temperature charts. By following these guidelines, you can achieve professional-level cooking outcomes with ease. Let the Taylor thermometer guide you to culinary success every time. Use these settings to guarantee delicious, perfectly cooked meals consistently.
Using Preset Settings for Poultry, Beef, Pork, and Fish
The Taylor meat thermometer offers convenient preset settings for poultry, beef, pork, and fish. Select the meat type using the MEAT button, and the thermometer will automatically display the recommended target temperature. For poultry, the preset is 165°F, ensuring food safety. Beef settings range from 135°F (rare) to 160°F (medium), while pork and fish are both set to 145°F. These presets eliminate guesswork, ensuring perfectly cooked meals. Simply insert the probe, choose the preset, and wait for the alarm to sound when the target temperature is reached. This feature guarantees consistent results, whether you’re cooking a juicy steak or a tender chicken breast. Let the Taylor thermometer handle the temperature monitoring for you, so you can focus on other aspects of your meal preparation.
Advanced Settings and Customization
Customize your cooking experience with adjustable target temperatures and timer functions. Set precise temperatures for specific dishes and monitor cooking time for perfect results every time.
Setting Custom Target Temperatures
To set custom target temperatures on your Taylor meat thermometer, navigate to the temperature settings menu using the navigation buttons. Select the desired temperature by pressing the “+” or “-” buttons until the display shows your preferred temperature. For precise control, ensure the probe is inserted into the thickest part of the meat, avoiding bone or fat; Once set, press the “Set” or “Enter” button to save your custom temperature. This feature allows you to tailor cooking to specific recipes or preferences. Note that some models may require holding the button for a few seconds to confirm. Always refer to the user manual for model-specific instructions. This customization ensures your dishes are cooked to perfection every time.
Using the Timer Function
To use the timer function on your Taylor meat thermometer, first ensure the device is turned on. Press the “Timer” or “Clock” button to access the timer settings. Use the “+” or “-” buttons to set your desired cooking time. Once set, press the “Start” button to begin the countdown. The timer will alert you with a beep or vibration when the set time is reached. For added convenience, you can pause or reset the timer using the same buttons. This feature is ideal for tracking cooking durations without constant monitoring. Always ensure the probe is correctly inserted into the meat before starting the timer for accurate temperature readings. The timer function enhances your cooking experience by simplifying time management during meal preparation.

Maintenance and Troubleshooting
Regularly clean the thermometer probe with soap and water. Calibrate as needed for accuracy. Replace batteries when low. Store properly to maintain performance. Refer to the user manual for detailed steps.
Cleaning and Calibrating the Thermometer
Proper maintenance ensures your Taylor meat thermometer remains accurate and reliable. To clean, wash the probe with mild soap and warm water, avoiding abrasive materials. Rinse thoroughly and dry. For calibration, insert the probe into ice water, ensuring it doesn’t touch the sides or bottom. Adjust the thermometer until it reads 32°F (0°C). Regular cleaning prevents residue buildup, while calibration guarantees precise temperature readings. Always store the thermometer in a dry place to maintain its performance. Refer to the user manual for detailed calibration steps if needed. Proper care extends the lifespan of your thermometer and ensures consistent cooking results.
Solving Common Issues (e.g., Battery Replacement, Probe Care)
If your Taylor meat thermometer isn’t functioning properly, start by checking the battery. Replace it by removing the battery compartment, inserting a new battery, and ensuring it’s securely closed. For probe care, avoid exposing it to extreme temperatures or harsh chemicals. Clean the probe with mild soap and water, and dry thoroughly after each use. If the probe is damaged, contact customer support for a replacement. To resolve connectivity issues, ensure the probe is properly plugged in and the unit is turned on. For inaccurate readings, recalibrate the thermometer by submerging the probe in ice water and adjusting until it reads 32°F (0°C). Regular maintenance and proper storage will extend the lifespan of your thermometer.